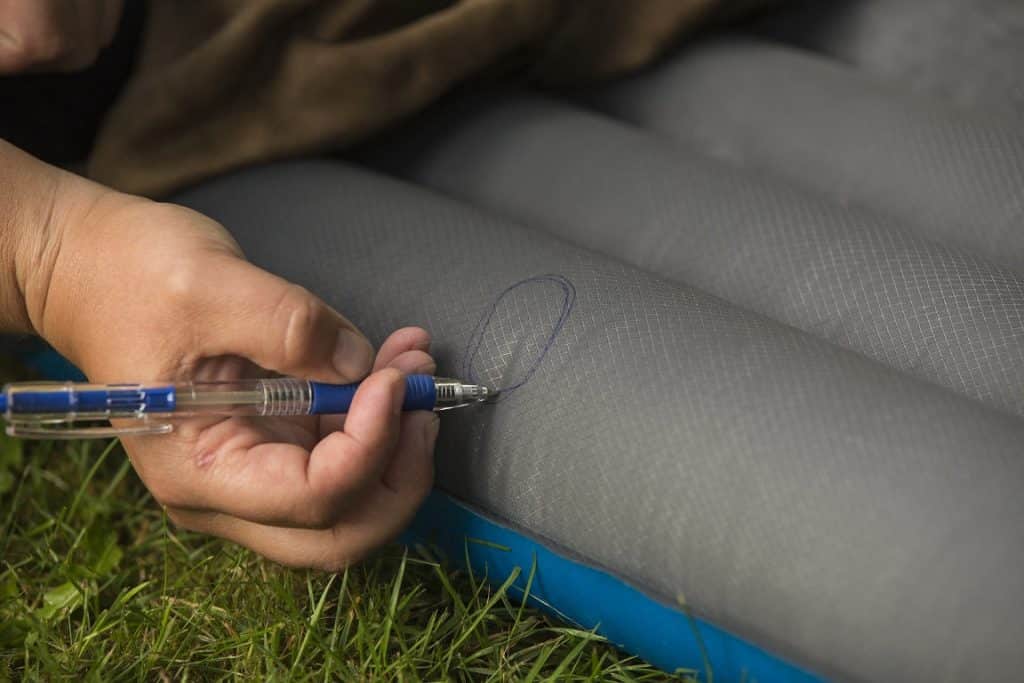
So picture this: You’re all set for a peaceful night of camping under the starry sky, only to discover a problem – there’s a pesky hole in your air mattress. Panic may start to set in as you wonder if this means your night of comfort is ruined. But fear not! We’re here to assure you that repairing a hole in an air mattress is not only possible but also surprisingly easy. In this article, we’ll guide you through some simple steps to help you patch up that hole and get back to enjoying a well-rested night’s sleep in no time. Let’s dive in, shall we?
This image is property of www.wikihow.com.
Review contents
Preparation
Gather the necessary materials
Before attempting to repair a hole in an air mattress, it’s important to gather all the necessary materials. This includes a patch kit or alternative options such as duct tape or a tire repair kit, adhesive, soapy water, a sponge or cloth, and a pair of scissors. It’s also a good idea to have a well-ventilated area ready for the repair process.
Find a well-ventilated area
Repairing an air mattress requires the use of adhesive, which can emit strong fumes. To ensure safety and comfort during the repair, it’s essential to find a well-ventilated area. This could be a spacious room with open windows or a spot outside where there is enough fresh air circulation.
Clean the mattress
Before trying to locate the hole in the air mattress, it’s crucial to clean the surface of the mattress. Use a damp cloth or sponge and mild soap to gently wipe away any dirt or debris. This step ensures that the adhesive used for patching can adhere properly and create a strong bond.
Locating the Hole
Inflate the mattress
To begin the process of locating the hole in an air mattress, inflate it fully. This will make it easier to find the area that requires repair. Use a manual pump or an electric air pump, depending on the type of mattress you have. Ensure that the mattress is fully inflated and firm before proceeding.
Listen for hissing sounds
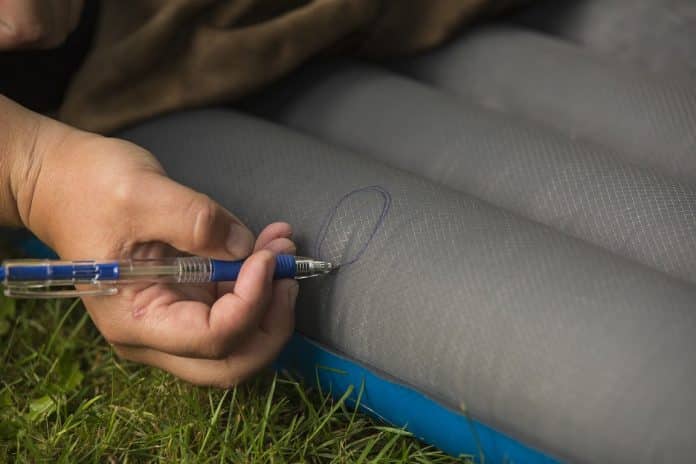
Close your ears to any external noises and carefully listen for any hissing sounds coming from the mattress. Hissing sounds are a clear indication of air escaping from a hole. Move your ear slowly across the surface of the mattress to pinpoint the exact location of the leak.
Apply soapy water
Another effective method for locating a hole in an air mattress is by applying soapy water to the surface. Mix a small amount of liquid soap with water in a spray bottle and spray it over the fully inflated mattress. Look for any areas where bubbles start to form, as this indicates the presence of a leak.
Inspect for bubbles
Once the soapy water has been applied, carefully inspect the surface of the mattress for any bubbles. Bubbles will form at the site of the hole and may vary in size depending on the severity of the leak. Take note of the location of the bubbles for the patching process.
Patch Options
Use a patch kit
A patch kit is often the most reliable and effective method for repairing a hole in an air mattress. Many air mattresses come with accompanying patch kits, but they can also be purchased separately. Patch kits typically include adhesive patches that are specifically designed for air mattress repairs. These patches are durable and can create a strong bond when applied correctly.
Apply duct tape
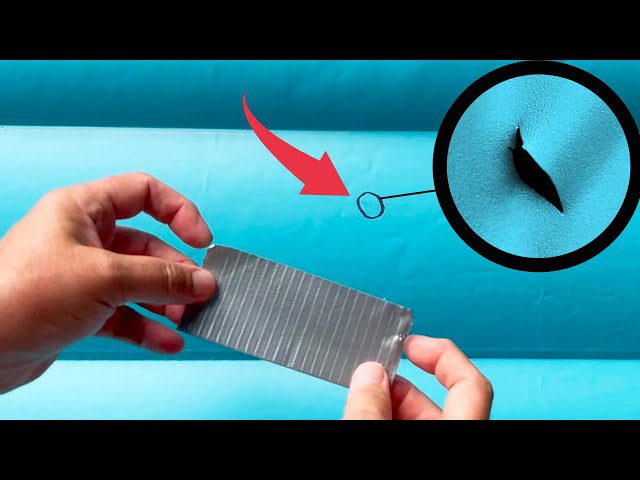
If a patch kit is not available, duct tape can be used as a temporary solution to repair a hole in an air mattress. Although duct tape may not be as durable as adhesive patches, it can provide a quick and makeshift fix until a more permanent solution is found. Ensure that the duct tape completely covers the hole and create an airtight seal.
Use a tire repair kit
For larger holes or more severe damage, a tire repair kit can be a viable option for patching an air mattress. Tire repair kits are designed to handle the pressure and stress of repairing holes in tires, which makes them a suitable choice for air mattresses as well. These kits typically include adhesive and patches that are strong enough to withstand the weight and movement of a person on the mattress.
Patch Application
Prepare the area
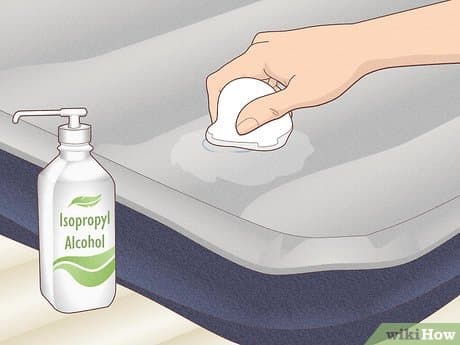
Before applying the patch, prepare the area around the hole by cleaning it with soapy water and ensuring it is completely dry. If necessary, trim any loose threads or fabric around the hole with a pair of scissors. A clean and smooth surface will allow the adhesive to bond effectively, creating a strong and long-lasting repair.
Apply adhesive
If using a patch kit, follow the instructions provided to apply the adhesive to the patch. Ensure that the adhesive is evenly and generously spread across the entire patch. If using an alternative patching method, apply the adhesive directly to the hole or the area where the patch will be placed. Use a small brush or applicator to carefully apply the adhesive, ensuring full coverage.
Place the patch
Carefully position the patch over the hole, ensuring that it completely covers the damaged area. Apply gentle pressure to the patch, pressing it firmly onto the mattress surface. Smooth out any air bubbles or wrinkles that may have formed during the application process. Make sure that the patch adheres securely to the mattress.
Smooth out the patch
After placing the patch, use your hand or a small roller to smooth out any air bubbles or creases that may have formed. This step is crucial for creating a tight seal and ensuring the patch is fully bonded to the mattress surface. Smooth out the patch from the center to the edges, applying even pressure to ensure a secure and flat bond.
Allow it to dry
After applying the patch, allow sufficient time for the adhesive to dry and bond. Follow the instructions provided with the patch kit or adhesive for the recommended drying time. It’s essential to wait until the adhesive is fully dry before testing the repair or using the air mattress. This will ensure that the patch has properly sealed the hole and will not come loose during use.
This image is property of i.ytimg.com.
Alternative Methods
Use a hot iron
In some cases, a hot iron can be used to repair a hole in an air mattress. Place a cloth or thin fabric over the hole and carefully run a heated iron over it. The heat from the iron can melt the material of the mattress, sealing the hole and creating a bond. This method should be approached with caution, as excessive heat can damage the mattress or cause further issues.
Apply super glue
For small holes or punctures, super glue can provide a quick and effective fix. Apply a small amount of super glue directly to the hole and press it together to seal the gap. Hold the edges of the hole together for a few minutes to ensure a strong bond. However, it’s important to note that super glue may not be as reliable for larger or more severe damage.
Try silicone-based sealant
Silicone-based sealant, commonly used for plumbing repairs, can also be used as an alternative method for patching an air mattress. Apply a generous amount of the sealant directly onto the hole and spread it evenly. Smooth out the sealant to create a uniform layer and allow it to dry according to the manufacturer’s instructions. Silicone-based sealant creates a flexible and waterproof seal, making it suitable for air mattress repair.
Preventive Measures
Use a mattress protector
One of the best ways to prevent holes or damage to an air mattress is to use a mattress protector. A mattress protector serves as a barrier between the mattress surface and potential hazards, such as sharp objects or spills. It can greatly extend the lifespan of the mattress and reduce the need for repairs.
Keep sharp objects away
To prevent accidental damage to an air mattress, it’s important to keep sharp objects away from it. Avoid placing or using any sharp items near the mattress, such as knives, scissors, or pets with sharp claws. By being mindful of the surroundings and potential hazards, the risk of puncturing the mattress can be significantly reduced.
Avoid over-inflation
Over-inflating an air mattress can put unnecessary strain on the seams and increase the likelihood of leaks or holes. Follow the manufacturer’s guidelines for inflation levels and avoid overinflating the mattress. This will not only prolong the lifespan of the mattress but also minimize the need for repairs.
Properly store the mattress
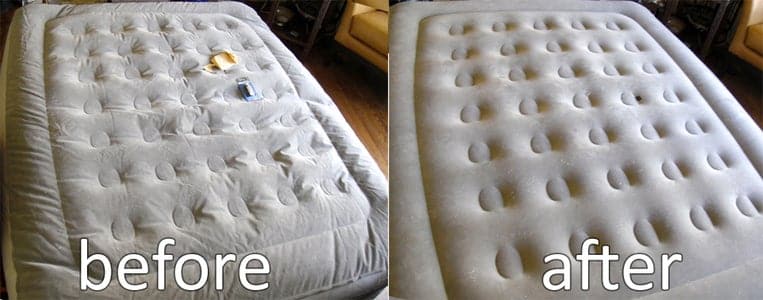
When the air mattress is not in use, proper storage is key to preventing damage. Deflate the mattress completely and store it in a dry and clean environment. Avoid folding or storing the mattress in a way that may strain the seams or fabric. By storing the mattress correctly, the risk of accidental damage or wear and tear can be minimized.
This image is property of content.instructables.com.
Professional Repair
Consult a repair service
If the hole in the air mattress is severe or the DIY patching methods have proved unsuccessful, it may be time to consult a professional repair service. These services specialize in fixing and restoring air mattresses, ensuring a high-quality and durable repair. Research local repair services and contact them for an assessment of the damage and an estimate for the repair.
Consider warranty coverage
If the air mattress is still within its warranty period, it’s worth exploring whether the hole or damage is covered. Check the warranty documentation or contact the manufacturer to determine if the repair or replacement is eligible. Warranty coverage can save you the hassle and cost of repairing the mattress yourself.
Testing the Repair
Reinflate the mattress
After the patch has had sufficient time to dry and bond, reinflate the air mattress. Use a manual or electric pump to fully inflate the mattress and ensure that it holds air without any visible signs of leakage.
Listen for any hissing sounds
After reinflation, listen carefully for any hissing sounds that could indicate air escaping from the mattress. Pay close attention to the area where the hole was repaired and any surrounding areas. If no hissing sounds are present, it is a positive indication that the repair has been successful.
Apply soapy water again
To further confirm the effectiveness of the repair, apply soapy water to the patched area once again. Spray or apply soapy water to the mattress surface and observe if any bubbles form. If no bubbles appear, it’s a good sign that the repair has successfully sealed the hole.
Inspect for bubbles
While applying soapy water, closely inspect the patched area for any bubbles that may form. If no bubbles are visible, it indicates that the patch has created a secure and airtight seal. However, if bubbles are detected, it may indicate that the repair needs further attention or a different patching method should be considered.
Check for loss of air
After testing for bubbles, leave the air mattress fully inflated for a period of time and periodically check the air pressure. If there is a loss of air over time, it suggests that the hole may not have been fully repaired or that there are additional leaks that need attention. In such cases, reevaluate the patch or consider seeking professional repair.
This image is property of i.ytimg.com.
Safety Considerations
Ensure good ventilation
Throughout the repair process, it is essential to maintain good ventilation in the area. Adhesives used for patching can emit strong fumes, which can be harmful if inhaled excessively. Keep windows open or work in a well-ventilated room to minimize exposure to fumes.
Handle adhesive with care
When working with adhesive, it is important to handle it with care. Follow the instructions provided with the adhesive and use appropriate protective gear, such as gloves or eye protection. Avoid contact with skin or eyes and keep adhesive out of reach of children and pets.
Avoid applying near flames
Adhesives used for patching air mattresses are often flammable. It is crucial to avoid applying adhesive or conducting repairs near open flames or heat sources. This includes cigarettes, candles, stoves, or any other potential ignition sources. Take necessary precautions to ensure a safe repair environment.
Conclusion
Repairing a hole in an air mattress is possible with the right materials, techniques, and diligence. By following the proper steps outlined in this article, such as locating the hole, selecting an appropriate patch method, and applying it correctly, you can restore your air mattress to its former functionality. Taking preventive measures, such as using a mattress protector and keeping sharp objects away, can also help maintain the integrity of the mattress and prevent future damage. If DIY repairs prove unsuccessful or the damage is extensive, consulting a professional repair service or checking warranty coverage can provide alternative solutions. With proper care and attention, you can enjoy a fully functional air mattress for a long time to come.
This image is property of cdn.shopify.com.

